2013-01-23
Measuring humidity with a Raspberry Pi
I got a Raspberry Pi a few months ago, and one of the things I wanted to do with it was a bit of hardware hacking (the Raspberry Pi having an easily accessible IO header). But I didn't have a specific project in mind.
So I got a Adafruit Raspberry Pi Breakout Kit, hoping that is would act as a source of inspiration. When the novelty of playing about with LEDs and switches had worn off, I saw that Adafruit also has a very cost effective humidity sensor — the DHT22. The DHT22 is a fully integrated sensor that supplies digital relative humidity and temperature measurements. I have a not entirely frivolous reason to want to measure the humidity levels at home, so this seemed like a good project. But in the end, I chose a different sensor: the HYT-271, (bought from Farnell). The choice was because the DHT22 uses a custom bus protocol, which has to be bit-banged using GPIO pins. Adafruit has an article with sample code to do just that. But that wouldn't leave much for me to learn in the process. The HYT-271 is a little more expensive, but in contrast it uses a standard I²C interface, so it would give me an opportunity to learn something for myself while still staying close to well-trodden paths.
Connecting the HYT-271 to the Raspberry Pi
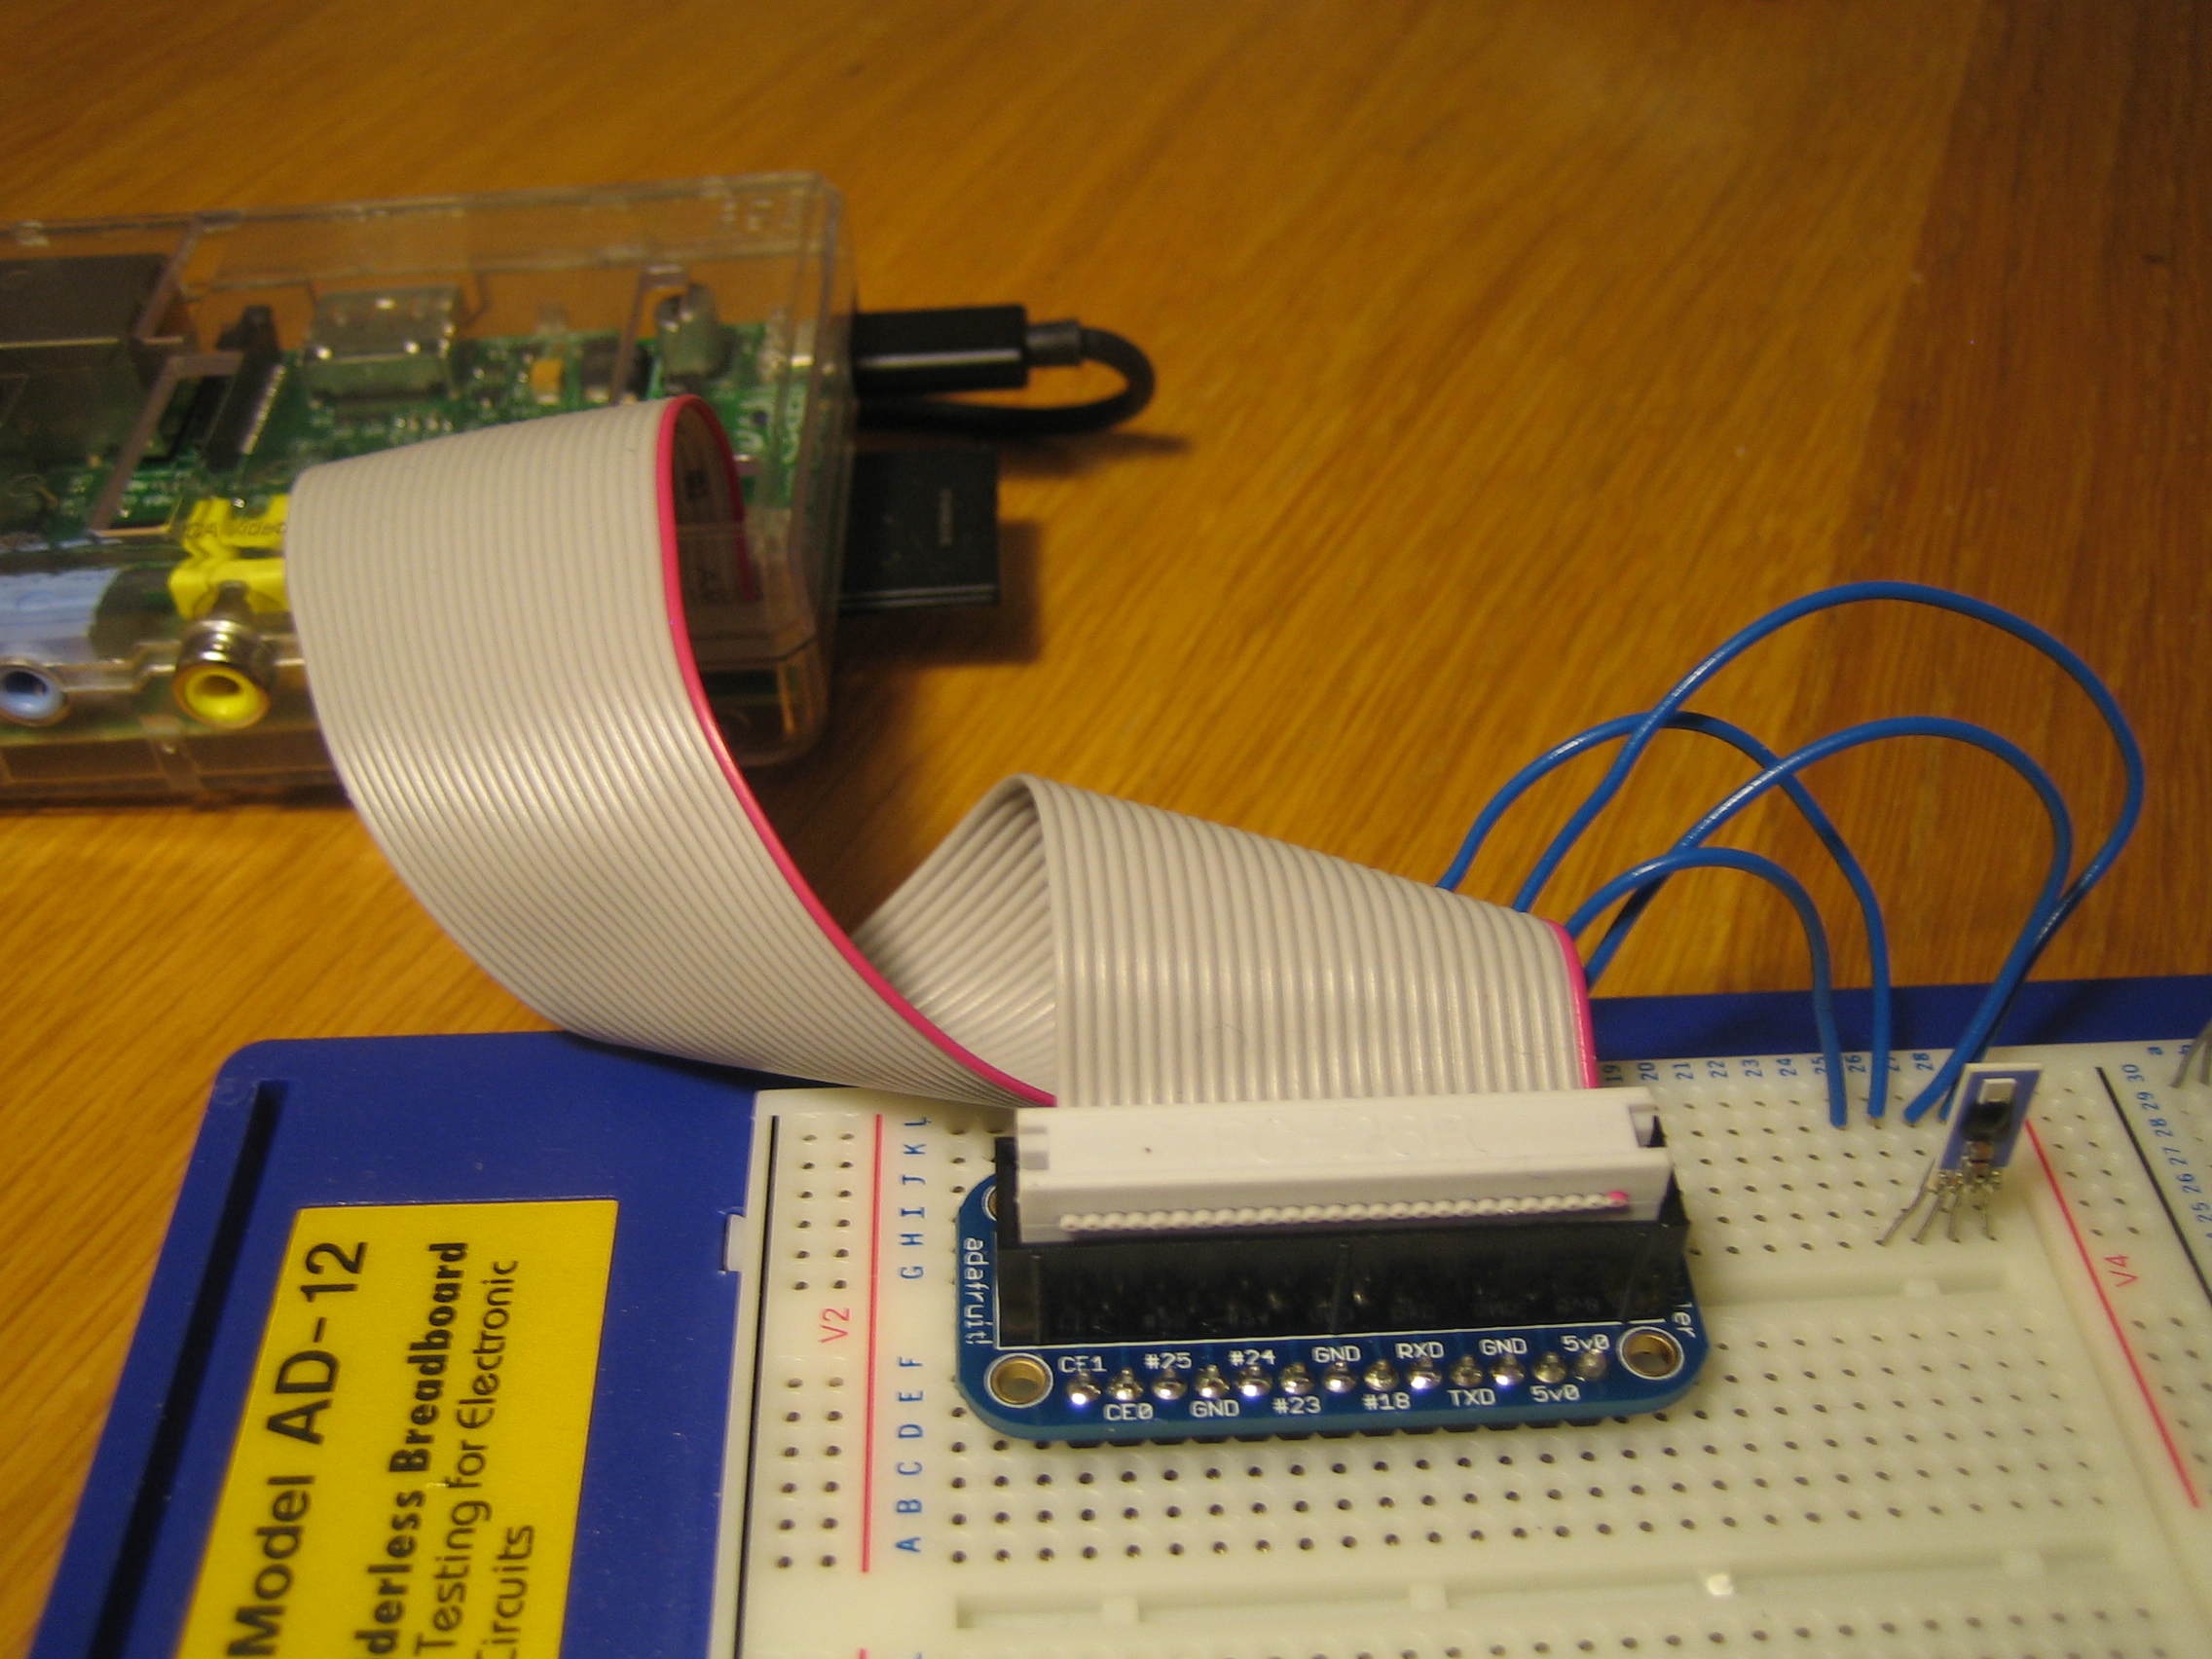
This part is easy: The four pins of the HYT-271 are wired to the corresponding pins on the Raspberry Pi's IO header (SDA, SCL, GND, and VDD to one of the 3.3V pins).
Because I²C is an open-drain bus, the SDA and SCL lines need pull-up resistors. The Raspberry Pi schematics show that it incorporates 1.8KΩ pull-up resistors on these lines, so external pull-ups are unnecessary. In fact, 1.8KΩ is close to the lowest value allowed for a 3.3V I²C bus (see this page), so it seems unlikely you would ever use external pull-ups with a Raspberry Pi.
I made the connections via the breakout kit and a breadboard. The pitch on the HYT-271's pins is 0.05 inches, but the pins are long enough that they can be carefully splayed to fit in the 0.1 inch pitch of a breadboard:
Enabling the I²C drivers
I'm running raspian on my Raspberry Pi. Using the I²C bus involves a small amount of configuration. I took these steps from this page about connecting to an I²C ADC. As root:
- Add i2c-dev to the end of /etc/modules (this allows userspace programs to access the I²C bus).
- Comment out the line in
/etc/modprobe.d/raspi-blacklist.conf that says
blacklist i2c-bcm2708(apparently it is blacklisted simply because it is thought few users will need it). - Install i2c-tools:
apt-get install i2c-tools
- Add the relevant users to the i2c group, so
that they can access the I²C devices:
adduser USER i2c
- Reboot so that these changes take effect:
reboot
Once that's done, we can use i2c-detect to check whether the Raspberry Pi can see the HYT-271:
pi@raspberrypi /tmp $ i2cdetect -y bcm2708_i2c.1
     0  1  2  3  4  5  6  7  8  9  a  b  c  d  e  f
00:          -- -- -- -- -- -- -- -- -- -- -- -- --
10: -- -- -- -- -- -- -- -- -- -- -- -- -- -- -- --
20: -- -- -- -- -- -- -- -- 28 -- -- -- -- -- -- --
30: -- -- -- -- -- -- -- -- -- -- -- -- -- -- -- --
40: -- -- -- -- -- -- -- -- -- -- -- -- -- -- -- --
50: -- -- -- -- -- -- -- -- -- -- -- -- -- -- -- --
60: -- -- -- -- -- -- -- -- -- -- -- -- -- -- -- --
70: -- -- -- -- -- -- -- --
The “28” is the HYT-271, which uses I²C address 0x28, so things are looking good.
(The bus name bcm2708_i2c.1 is correct for the Raspberry Pi Revision 2. On Revision 1 boards, the I²C bus on the IO header is bcm2708_i2c.0.)
Ideally at this point we would be able to use the other i2c-tools commands to verify that the HYT-271 is functioning. Unfortunately, despite the name, i2c-tools has a strong emphasis on SMBus rather than generic I²C, and its i2cget and i2cset commands cannot issue raw I²C read and write transactions. So we need some custom code to proceed further.
Code
Unfortunately, the documentation for the HYT series is lacking. The datasheets do not describe what I²C transactions are needed to get a reading from the sensor. Sample code is available on the hygrochip.com site, but the Arduino code seems to have some issues. So I examined their sample BASIC code to produce something that worked. In order to get a reading, you have to:
- Do a write transaction to begin a measurement (the data written seems to be irrelevant).
- Wait 60ms (if you do a read transaction immediately, you will get back the values for the previous measurement).
- Read the 4 bytes containing the humidity and temperature measurements.
(The sample Arduino code misses out steps 1 and 2, which will cause it to return the same values all the time.)
You can find my C program on github:
pi@raspberrypi /tmp/hygrochip-linux $ ./hyt-read
44.906307 21.798206